Smart Bathroom Mirror Defogger and LED Strip Failures: What’s Actually Going Wrong (And How to Fix It)
It’s 7:15am. You’ve got a meeting in 45 minutes, and your bathroom mirror is completely fogged over — again. The defogger pad that was supposed to keep it clear has stopped responding, and the LED strips framing the mirror are flickering like a horror movie prop. You’re standing there wondering if you should just yank the whole thing out. Here’s exactly what I would do.
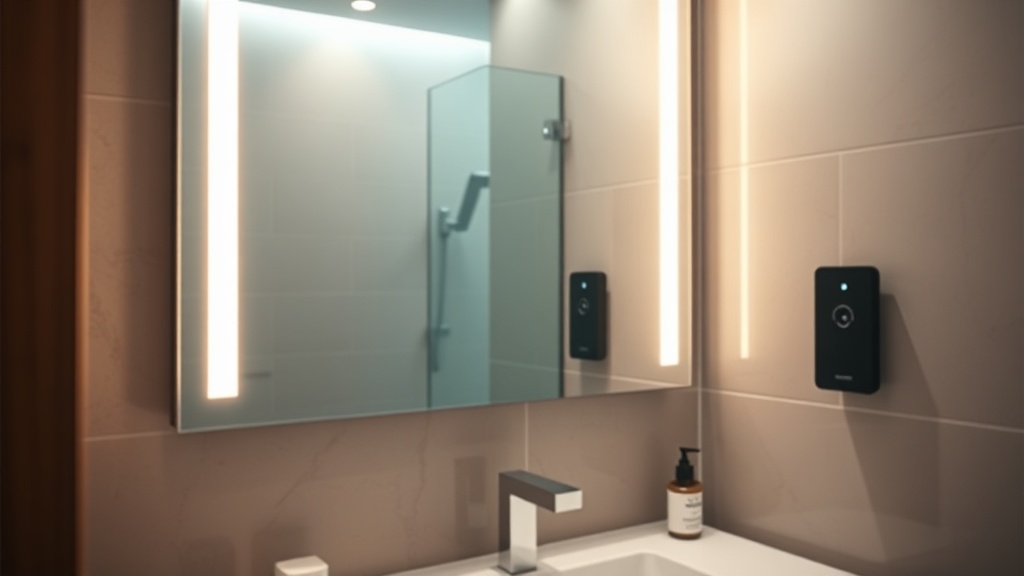
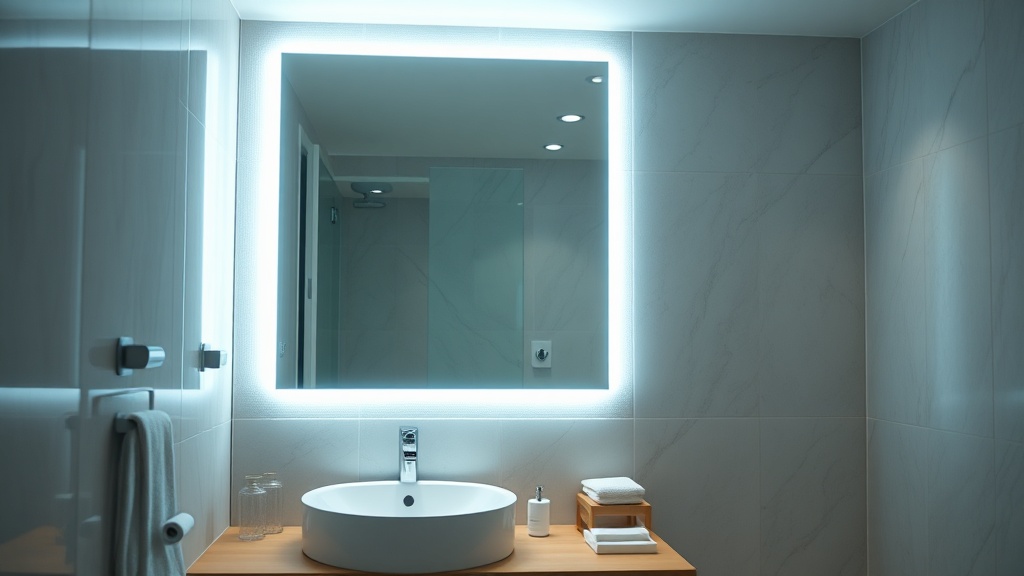
Smart bathroom mirror defogger and LED strip failures are more common than most homeowners realize — and more frustrating, because both systems feel like they should “just work.” These are relatively simple electrical components, but bathrooms are unforgiving environments. Heat, humidity, condensation cycling, and the reality of low-voltage wiring pushed behind wet-area walls all conspire to create failure points that I see constantly in service calls. The good news: most of these failures follow predictable patterns, and once you know what to look for, many are DIY-fixable without calling in an electrician.
Why Bathroom Environments Destroy Smart Electronics Faster Than Anywhere Else
Bathrooms combine heat, moisture, and frequent temperature swings in a way that aggressively shortens the lifespan of any electronic component — especially low-voltage systems like LED strips and resistive heating pads used in defoggers.
Think about what happens during a shower. Ambient temperature spikes. Humidity can hit 90%+. Then the exhaust fan kicks on and everything cools rapidly. This thermal cycling causes micro-expansion and contraction in solder joints, wire connectors, and adhesive backings on LED strips. Over months and years, those micro-movements become cracks, and cracks become failures.
LED strips in particular are vulnerable at their solder connections — specifically the cut points where strips are shortened during installation. Water vapor works into those exposed copper pads and oxidizes them. That’s not a product defect. That’s physics.
Here’s the thing: most smart mirror manufacturers rate their products for bathroom use, but that rating assumes proper ventilation. If your exhaust fan is undersized or you’re running 20-minute steamy showers in a small space, you’re operating outside design parameters whether you know it or not.
Proper ventilation is the single most underrated factor in smart bathroom longevity.
Diagnosing Smart Bathroom Mirror Defogger and LED Strip Failures Step by Step
Before you replace anything, you need to diagnose correctly. Swapping components blindly wastes money and often leaves the root cause intact — meaning the new part fails just as fast.
Start with the simplest check: power. Grab a non-contact voltage tester and confirm the mirror is actually receiving power at its supply. I’ve been on service calls where a GFCI outlet tripped in a bathroom two rooms over was killing the mirror circuit — the homeowner had no idea those outlets were daisy-chained. Check every GFCI in the bathroom, hallway, and any adjacent wet area.
For defogger failures specifically, the pad itself is a resistive heating element. When it fails, it usually fails open — meaning no continuity. You can test this with a basic multimeter set to resistance mode. Disconnect the pad from its transformer and measure resistance across the two leads. Most residential defogger pads run between 20–120 ohms depending on wattage. A reading of OL (overload/infinite resistance) means the pad is dead. That’s a pad replacement, not a mirror replacement.
For LED strip failures, isolate whether it’s the strip, the driver/power supply, or the controller. The most common failure point I see is the driver — especially cheap inline drivers that come bundled with budget mirror kits. They’re rated for 30,000 hours but often fail at 5,000–8,000 hours in humid conditions. A dead driver means zero output regardless of how good the strip itself is.
Real talk: if your LEDs flicker only when the shower is running, that’s almost always a loose connector or oxidized solder joint responding to thermal expansion — not a driver issue. That’s a $0 fix if you catch it early enough to re-flow the solder.
The Most Common Failure Modes (And What They Actually Cost to Fix)
Not all failures are equal. Some cost $15 and an hour of your time. Others require an electrician and a partial wall opening. Knowing which category you’re in changes your entire repair strategy.
Here’s a breakdown of what I see most frequently in the field:
Oxidized LED strip connectors — the plastic push-in connectors used to join LED strip sections are notorious for failing in humid environments. The fix is replacing them with soldered connections sealed with heat-shrink tubing rated for moisture exposure. Cost: under $20 in materials. Difficulty: moderate DIY.
Failed LED driver/transformer — replacement drivers for common wattages (24W–60W) run $15–$45 online. Make sure you match voltage (most residential strips are 12V or 24V DC) and wattage exactly. Going even slightly underpowered causes dimming and heat buildup that accelerates the next failure.
Dead defogger pad — replacement pads sized for standard mirrors (24″x36″ to 30″x48″) typically run $40–$90. The transformer that drives them is rarely the problem; the pad almost always fails first. Installation is straightforward — peel-and-stick adhesive backing, two wire connections — but you need to confirm the replacement pad matches your transformer’s wattage output.
Failed smart controller/dimmer — if you have a smart mirror with app control or voice integration, the Z-Wave or Zigbee module embedded in the controller can fail independently of the LED hardware. I’ve seen this with a client who had a Kohler Verdera mirror where the Bluetooth pairing module fried after a nearby lightning strike caused a voltage spike. The LEDs worked fine on manual; only the smart control was dead. Replacement controller boards from the manufacturer run $60–$150 and are worth calling about under warranty first.
Worth noting: anything requiring you to open the wall to access wiring, or any repair on a mirror hardwired (not plugged in) should involve a licensed electrician. Bathroom electrical work carries real shock and fire risk.
DIY vs. Professional Repair: An Honest Assessment
The line between DIY-safe and needs-a-pro is mostly about whether the mirror is plug-in or hardwired, and whether you’re comfortable with basic multimeter work and soldering.
If your mirror plugs into a standard outlet — even a dedicated one — most repairs are within reach for a reasonably handy homeowner. You’re dealing with low-voltage DC components behind the mirror face, and the worst outcome of a mistake is a non-working mirror, not an electrical hazard.
If the mirror is hardwired into a junction box, call an electrician for anything beyond swapping out the low-voltage components on the mirror’s face side. The 120V AC supply side is not a DIY project in a wet area under any circumstances. The NEC (National Electrical Code) has specific requirements for bathroom circuits that exist because water and mains voltage is a genuinely dangerous combination.
That said, I’ll tell you what a lot of guides won’t: the labor cost for an electrician to swap out a failed LED driver behind a smart mirror typically runs $150–$300 depending on your market. If the driver itself costs $25, you may decide it’s worth learning to do it yourself — or you may decide the peace of mind is worth paying for. Both are legitimate calls.
CEDIA’s homeowner resources are genuinely useful here — they help you find credentialed smart home integrators in your area who work on exactly these kinds of bathroom tech issues without the full-electrician markup for what is, ultimately, low-voltage work.
Preventing Future Failures: What I Tell Every Client After a Repair
Prevention after a repair is where most homeowners leave money on the table. Fix the symptom without addressing the cause and you’ll be back in the same spot in 18 months.
The third time I encountered a defogger pad failure in the same house was in a 4,000 sq ft custom build where the bathroom exhaust fan was sized for a bathroom half the volume. The fan ran, but it wasn’t moving enough CFM to drop humidity meaningfully. We replaced the defogger pad twice before the builder finally upgraded the fan. After that? Zero issues in three years.
Here’s a practical checklist for extending the life of your smart bathroom components:
- Run the exhaust fan for at least 15–20 minutes post-shower. Better: wire it to a timer or humidity sensor so it runs automatically.
- Use conformal coating spray on any exposed LED strip solder connections. This is a $12 can of electronics-grade moisture barrier that takes 10 minutes to apply and dramatically extends strip life in humid environments.
- Make sure your LED driver is mounted outside the mirror cavity if possible — heat accumulation inside enclosed mirror backs shortens driver lifespan significantly.
- Install a whole-bathroom surge protector on the circuit. UL-listed surge protective devices for bathroom circuits run $30–$60 and protect against the voltage spikes that kill smart controllers and dimmers.
- Annual check: wiggle every LED strip connector you can access. Loose connections that haven’t failed yet are a leading indicator of imminent failure.
A client once told me she thought smart bathroom tech was “designed to fail.” I told her the tech is fine — it’s the installation shortcuts and ignored maintenance that fail. Small investments in prevention pay off dramatically here.
Quick Comparison: Common Smart Mirror and LED Strip Failure Scenarios
Here’s a summary of everything we’ve covered in one reference table — so you can identify your situation fast and know exactly what you’re dealing with before you buy a single part.
| Symptom | Most Likely Cause | DIY Friendly? | Estimated Fix Cost |
|---|---|---|---|
| Mirror completely dead | Tripped GFCI or blown fuse | Yes | $0–$5 |
| LEDs flicker during shower | Loose/oxidized connector | Yes | $0–$20 |
| LEDs completely off, power confirmed | Failed LED driver | Yes (plug-in models) | $15–$45 |
| Partial LED sections dark | Oxidized strip solder joints | Moderate DIY | $10–$30 |
| Defogger not heating | Dead resistive pad | Yes | $40–$90 |
| Smart features dead, LEDs work manually | Failed smart controller module | Moderate (warranty first) | $60–$150 |
| Recurrent failures, multiple components | Inadequate ventilation or power quality | Partial DIY / Pro for wiring | $150–$500+ |
The Bottom Line
Stop guessing and start diagnosing. Smart bathroom mirror defogger and LED strip failures almost always fall into one of five predictable categories — and most of them are fixable for under $100 if you correctly identify the culprit before buying parts.
Don’t replace the whole mirror because the LED driver failed. Don’t call a $250/hour electrician because a GFCI tripped. But also: don’t open your breaker panel or touch hardwired bathroom circuits without professional help. Know your lane, and this stuff isn’t complicated. The bathroom is a hard environment for electronics, but it’s a manageable one when you approach it systematically rather than reactively.
If you only do one thing after reading this, install a humidity-sensing exhaust fan controller — it removes the single biggest enemy of your smart bathroom electronics automatically.
Frequently Asked Questions
Why does my smart mirror’s defogger work sometimes but not others?
Intermittent defogger function almost always points to a failing transformer or a hairline crack in the resistive heating pad that opens under certain temperature conditions. Test the pad’s resistance when it’s cold and again after it’s been running for 5 minutes. A resistance that changes significantly — or drops to zero when warm — indicates a failing pad element. Replacement pads solve this reliably.
Can I replace just a section of my LED strip without replacing the whole thing?
Yes, provided the strip uses standard density and voltage (most residential mirrors use 12V or 24V strips at 30 or 60 LEDs/meter). Cut at the marked copper cut points, solder in a new section, and seal all exposed connections with conformal coating or heat-shrink. The color match between new and old LEDs may be slightly off if the original strip is more than 2–3 years old — LEDs shift in color temperature over time.
My smart mirror is still under warranty — should I attempt DIY repairs?
Check the warranty terms first. Most manufacturers (Kohler, Robern, Electric Mirror) will void warranty coverage if you’ve opened or modified internal components. For warranty-covered failures, call the manufacturer’s support line with your purchase documentation. For out-of-warranty units, DIY is almost always the cost-effective path for the failure modes covered in this article.
References
- NFPA 70 — National Electrical Code, Bathroom Circuit Requirements: nfpa.org
- CEDIA Homeowner Resources and Credentialed Integrator Directory: cedia.org/homeowners
- UL Standards for Surge Protective Devices: ul.com
- ASHRAE Ventilation Standards for Residential Bathrooms — ASHRAE 62.2
- IEC 60529 — IP Rating Standards for Electronic Enclosures in Wet Areas