📋 Executive Summary
This guide delivers a step-by-step fix for resolving auto-empty dock foul odor without buying expensive OEM bags, embedded inside a broader professional framework that CEDIA Certified designers use to build flawless smart-home ecosystems.
Key takeaways: A network-first design philosophy, wired Cat6/6a backbones for zero-latency data, Matter/Thread interoperability standards, Human-Centric Lighting for circadian health, and low-cost maintenance tactics—including DIY odor elimination—that protect your technology investment long-term.
As a Smart Home Integration Specialist and CEDIA Certified Professional Designer—where CEDIA (Custom Electronic Design & Installation Association) stands as the globally recognized authority for home-technology standards—I have spent years converting labyrinthine wiring diagrams and competing device ecosystems into seamless, intuitive living environments. The work demands equal parts engineering rigor and human empathy: every routing decision, every protocol selection, and even every maintenance recommendation ultimately serves one goal—making the technology invisible so that life inside the home feels effortlessly elevated.
What most homeowners do not realize is that professional integration encompasses far more than premium hardware. It includes a documented design process, a resilient physical infrastructure, carefully chosen software protocols, and—critically—an ongoing maintenance philosophy that prevents small annoyances from snowballing into expensive failures. One surprisingly common complaint that bridges the gap between consumer robotics and smart-home integration is a foul odor emanating from a robotic vacuum’s auto-empty dock. This issue is almost always solvable without purchasing costly OEM replacement bags; a structured, step-by-step approach is all that is required. We will address that fix comprehensively within this guide, alongside the broader design principles that every serious smart-home owner should understand.
The Foundation of Professional Smart Home Integration
The single most important investment in any smart home project is its network infrastructure—enterprise-grade routers, VLAN-segmented IoT traffic, and a wired Cat6/Cat6a backbone form the unbreakable foundation upon which every automation layer depends.
The success of any automated home depends entirely on the strength of its underlying network. A professional designer treats connectivity like a utility: non-negotiable, always available, and sized generously for future growth. According to CEDIA’s industry guidelines, the modern residential network must support hundreds of simultaneous device connections without degradation, which means consumer-grade hardware is rarely adequate for large-scale deployments.
Enterprise-grade access points with support for Wi-Fi 6E and VLAN (Virtual Local Area Network) tagging are the baseline. VLANs allow the designer to isolate sensitive home-automation processors on a separate logical network from guest devices or entertainment systems. This segmentation enhances both security and performance—if a guest streams 4K video on their laptop, it does not compete for airtime with a security camera or a motorized shade controller.
While wireless technology has improved dramatically, a true Smart Home Integration Specialist will always advocate for a wired backbone wherever possible. Cat6 and Cat6a cabling—capable of sustaining 10 Gbps over distances up to 55 meters and 100 meters respectively—remains the gold standard for high-bandwidth, latency-sensitive devices such as 4K security cameras, networked media streamers, and dedicated control processors. Hardwiring these stationary devices eliminates the RF interference and retransmission overhead that wireless connections inevitably introduce, freeing the wireless spectrum for truly mobile devices like tablets and voice-assistant speakers.
Power management is a frequently underestimated pillar of professional design. Intelligent power conditioners filter line noise, protect sensitive processors against voltage spikes, and enable remote power cycling through management software. A single uncontrolled power surge can destroy a $4,000 home-automation controller in milliseconds; a $400 power conditioner prevents that entirely. This proactive posture minimizes downtime and measurably extends the lifespan of the technology investment.
Equally important is the physical organization of core equipment. MDF/IDF (Main Distribution Frame / Intermediate Distribution Frame) equipment racks provide structured mounting for network switches, patch panels, audio processors, and control systems. Centralized racks improve thermal management—allowing proper airflow between components—and make cable runs neat, labeled, and traceable. When a technician arrives for a service call three years after installation, a well-documented rack cuts diagnostic time from hours to minutes.
Advanced Lighting and Climate Control Strategies
Professional lighting systems operate on dedicated wireless frequencies to avoid 2.4 GHz congestion, while Human-Centric Lighting dynamically adjusts color temperature to align with the human circadian rhythm—delivering measurable improvements in sleep quality and daytime productivity.
Lighting is consistently the most impactful element of a smart home, influencing both the perceived aesthetics of a space and the biological well-being of its occupants. Professional platforms such as Lutron Homeworks QSX or Control4 Lighting use dedicated wireless frequencies—in Lutron’s case, a proprietary 434 MHz Clear Connect protocol—to sidestep the notorious congestion on standard 2.4 GHz Wi-Fi bands. The result is sub-100-millisecond response times even in RF-dense environments like multi-family high-rises.
Human-Centric Lighting (HCL) represents the next frontier in residential technology. By dynamically adjusting the correlated color temperature (CCT) of interior luminaires to mirror the sun’s natural arc—cool, energizing blue-white tones in the morning transitioning to warm amber tones by evening—these systems actively support the body’s circadian clock. Research published in peer-reviewed journals consistently shows that circadian-aligned lighting improves both cognitive performance during waking hours and sleep onset latency at night. For a concise scientific overview, the Wikipedia entry on Circadian Rhythms provides an excellent primer on the underlying biology that HCL systems leverage.
“The integration of tunable white lighting with occupancy data transforms a home from a passive container into an active participant in the resident’s health journey.”
— CEDIA Advanced Lighting Design Curriculum
Climate control integration goes several layers deeper than simple scheduling. By coupling occupancy sensors with geofencing algorithms, the HVAC system learns which rooms are actively used at which times, dynamically redirecting conditioned air only where it is needed. Motorized roller shades—integrated with real-time solar angle data—automatically lower on south-facing windows during peak solar gain hours, reducing cooling loads by up to 15 percent in temperate climates. This kind of whole-system synergy is only achievable when every subsystem communicates through a unified control layer rather than operating in isolated silos.
Regarding “Invisible Technology”—a design philosophy where speakers are installed behind acoustically transparent plaster ceilings, and televisions are concealed behind motorized artwork when not in use—lighting plays a supporting role here as well. Carefully designed accent and cove lighting can visually mask speaker grilles and equipment niches, ensuring the room reads as a beautifully curated interior first, and a technology showcase only when activated.
Interoperability: Matter, Thread, and the End of Walled Gardens
The Matter protocol—backed by Apple, Google, Amazon, and Samsung—enables devices from competing ecosystems to communicate locally over IP, eliminating cloud dependency and delivering near-instantaneous response times critical for professional-grade automation.
For over a decade, the single greatest friction point in smart home adoption was the walled garden effect: proprietary protocols that forced consumers to buy exclusively within one brand’s ecosystem or accept a chaotic patchwork of incompatible apps and hubs. The emergence of Matter—an open-source, IP-based connectivity standard governed by the Connectivity Standards Alliance—has fundamentally disrupted this paradigm. Matter-certified devices share a common device model and cryptographic commissioning process, meaning a light bulb from Manufacturer A can be discovered, controlled, and automated by a hub from Manufacturer B without any custom development work.
Equally transformative is Thread, the low-power IPv6 mesh networking protocol that typically serves as the physical transport layer beneath Matter for battery-operated devices. Unlike traditional Zigbee or Z-Wave meshes, Thread is routable over standard IP networks, making diagnostics and integration with enterprise tools far more straightforward. Every Thread device in a network acts as a router, creating a self-healing mesh that eliminates single points of failure—a critical reliability property for life-safety devices like smoke detectors or door lock sensors.
| Protocol | Frequency / Layer | Best Use Case | Cloud Dependency | Professional Rating |
|---|---|---|---|---|
| Matter (over Wi-Fi) | 2.4 / 5 GHz IP | Mains-powered devices, media | None (local) | ⭐⭐⭐⭐⭐ |
| Thread (Matter transport) | 802.15.4 / IPv6 Mesh | Battery sensors, locks, shades | None (local mesh) | ⭐⭐⭐⭐⭐ |
| Lutron Clear Connect | 434 MHz proprietary | Lighting, motorized shades | None (local RF) | ⭐⭐⭐⭐⭐ |
| Dante / AVB | Ethernet / Layer 2 | Multi-room audio distribution | None (LAN only) | ⭐⭐⭐⭐⭐ |
| Standard 2.4 GHz Wi-Fi | 2.4 GHz shared | General consumer IoT | Often cloud-dependent | ⭐⭐⭐ |
| Cloud-Only Integrations | Internet / API | DIY consumer convenience | Fully dependent | ⭐⭐ |
For multi-room audio specifically, protocols like Dante and AVB (Audio Video Bridging) deliver zero-latency, high-fidelity audio distribution over standard Ethernet infrastructure. Unlike consumer streaming solutions that introduce buffer delays of several hundred milliseconds, Dante achieves sub-1-millisecond synchronization across dozens of amplifiers and speakers simultaneously—a prerequisite for any serious home cinema or distributed music environment.
Step-by-Step Fix: Resolving Auto-Empty Dock Foul Odor Without Buying Expensive OEM Bags
Auto-empty dock odors are caused by accumulated organic debris, moisture, and bacteria inside the collection chamber—and can be fully eliminated through a systematic cleaning protocol using household materials, without any need to purchase expensive OEM replacement bags.
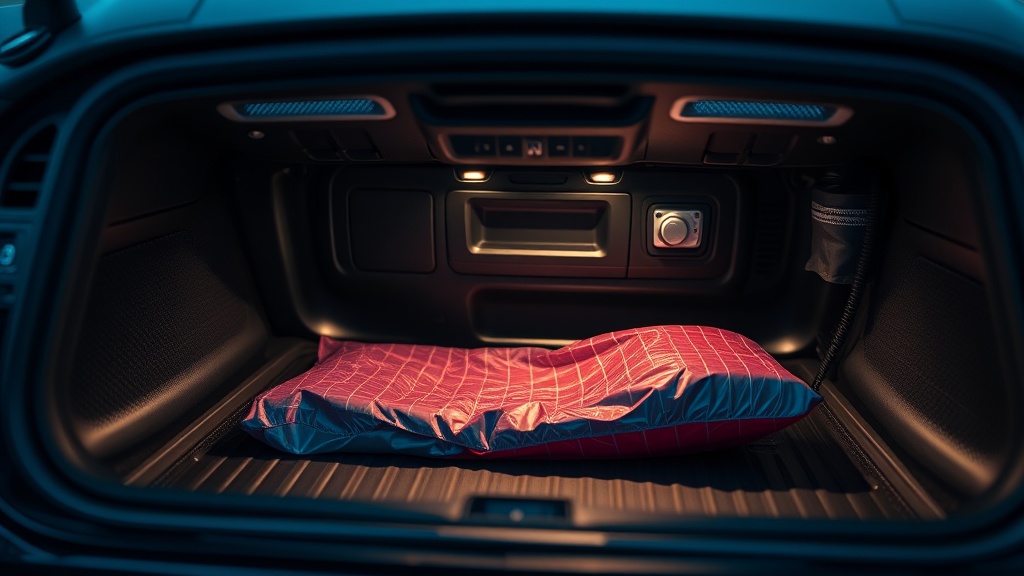
Robotic vacuums with auto-empty docking stations have become a natural component of smart-home ecosystems, often integrated with platforms like Amazon Alexa, Google Home, or Apple HomeKit to operate on intelligent schedules triggered by occupancy sensors. However, one persistent complaint among users—regardless of brand, whether iRobot, Roborock, Ecovacs, or Shark—is a musty, sour, or outright foul odor emanating from the dock after weeks of continuous use. The cause is almost always the same: a combination of fine organic particulates (skin cells, pet dander, food debris), residual moisture, and the anaerobic bacterial colonies that thrive inside a dark, warm collection chamber.
The good news is that this is a maintenance problem, not a hardware defect. And crucially, it can be resolved completely without purchasing new OEM dust bags, which can cost $15–$30 per pack for a consumable that does not address the root cause. Our smart home maintenance tips library covers dozens of similar proactive care strategies. Below is the definitive professional protocol.
Step 1: Power Down and Disconnect the Dock
Before any cleaning procedure, press and hold the dock’s power button until the indicator light extinguishes, then unplug the unit from the wall outlet. This eliminates any risk of electrical hazard during the cleaning process and prevents the vacuum from inadvertently docking mid-procedure. Allow the unit to sit unplugged for five minutes so any residual capacitor charge dissipates fully.
Step 2: Remove and Inspect the Dust Collection Bag or Bagless Bin
Carefully remove the dust bag or bagless collection bin from the dock. If your model uses a sealed OEM bag, do not discard it yet—check its fill level. Industry guidance suggests bags should be replaced at 70–80% capacity, not 100%, because an overfull bag compresses debris into a matted layer that traps moisture and accelerates bacterial growth. If the bag is less than 70% full, it can be reused after the dock interior is sanitized. For bagless models, empty the bin completely into a sealed trash bag outdoors if possible, preventing re-dispersal of fine particulate matter into your living space.
Step 3: Clean the Interior Chamber Walls
Using a microfiber cloth lightly dampened with a solution of white distilled vinegar diluted 1:1 with water, carefully wipe all interior surfaces of the collection chamber. Vinegar’s acetic acid content is highly effective against the gram-negative bacteria (primarily Pseudomonas and coliform species) that generate the characteristic sour odors. Do not use bleach inside the chamber, as chlorine residue can degrade the plastic housing and rubber seals over time. After wiping with the vinegar solution, follow with a second pass using a cloth dampened with plain distilled water to remove any acidic residue.
Step 4: Deodorize with Activated Charcoal or Baking Soda
Place a small, open container of food-grade activated charcoal granules or a shallow dish of baking soda inside the empty chamber for 30–60 minutes before reassembly. Both materials are highly effective odor absorbers—activated charcoal through physical adsorption onto its enormous microporous surface area, and baking soda (sodium bicarbonate) through chemical neutralization of acidic volatile compounds. This step is the critical difference between masking an odor and actually eliminating it at the molecular level.
Step 5: Clean the Suction Inlet and Internal Airpath
Using a stiff-bristle detailing brush or a repurposed toothbrush, gently scrub the suction inlet port at the top of the dock—the circular or rectangular aperture through which the vacuum deposits debris into the collection chamber. Compacted debris at this inlet is the most common source of odor because it sits in a warm, partially moist airstream for extended periods. Follow the brush cleaning with a brief burst from a can of compressed air to dislodge any remaining particulate from the internal airpath.