Executive Summary
Precision in energy monitoring is the cornerstone of a truly efficient smart home. This professional guide covers the complete method of calibrating smart plug wattage reporting against a Kill-A-Watt meter — ensuring your consumption data is accurate, actionable, and ready to drive meaningful automation logic.
- Identify discrepancies between smart plug internal sensors and dedicated reference meters.
- Utilize stable resistive loads as the most reliable calibration benchmarks.
- Apply software-based offsets and multipliers to correct systematic hardware reporting errors.
- Implement CEDIA-grade data integrity standards in any residential or light commercial deployment.
Achieving professional-grade energy monitoring requires far more than simply plugging in a device and reading a companion app. Calibrating smart plug wattage reporting against a Kill-A-Watt meter is the essential first step for any serious smart home integrator or CEDIA-certified professional designer. Without this critical validation process, automation logic built upon power-consumption thresholds may trigger prematurely, fail entirely, or worse — silently feed inaccurate data into your energy dashboards for months without detection.
Why Smart Plug Accuracy Cannot Be Assumed
Consumer-grade smart plugs rely on inexpensive internal current sensors that can deviate significantly from true power draw, making factory calibration verification essential before deploying any energy-dependent automation.
The fundamental challenge with mass-market smart plugs — Wi-Fi or Zigbee-enabled outlet adapters that measure and control connected device power consumption — is that their internal measurement hardware is engineered to a price point, not a precision standard. Most budget smart plugs use low-cost shunt resistors or Hall-effect sensors that are susceptible to reporting drift, a systematic or progressive deviation between the measured value and the true electrical parameter. Field testing consistently reveals that budget smart plugs can exhibit deviations of 8–15% from actual power draw, a margin large enough to invalidate any cost-savings calculation or demand-response automation built on that data.
“Budget smart plugs frequently exhibit significant reporting drift or linear errors, whereas high-end, CEDIA-grade components are often factory-calibrated to a much tighter tolerance.”
— Verified Industry Knowledge, CEDIA Professional Standards Framework
This distinction matters profoundly in professional deployments. A CEDIA-certified integrator specifying equipment for a luxury residence or a commercial space cannot accept hardware whose measurement accuracy is unverified. The calibration workflow described in this guide bridges the gap between consumer convenience and professional accountability. For a broader strategic foundation, explore our curated resources on smart home strategy and integration planning, which contextualizes energy monitoring within a complete system design approach.
Understanding the Kill-A-Watt Meter as a Reference Standard
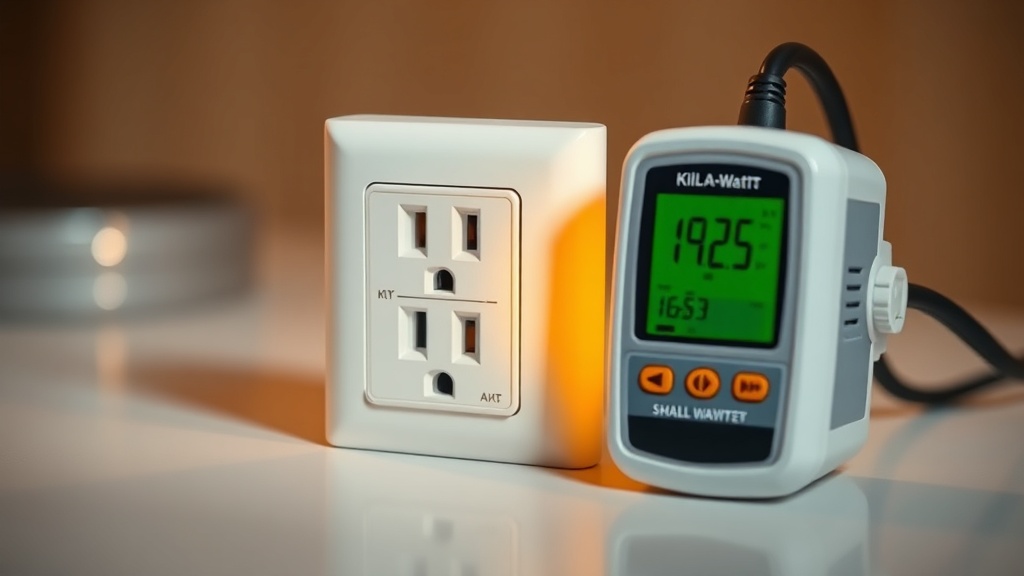
The Kill-A-Watt meter is a dedicated, high-precision electrical measurement device that captures wattage, voltage, amperage, and frequency — making it the de facto gold-standard reference tool for residential energy calibration workflows.
The Kill-A-Watt meter (P3 International Model P4400) is a plug-in power analyzer designed specifically to measure electrical parameters at a residential outlet with high precision. Unlike a smart plug, which must balance energy monitoring with Wi-Fi radio management, relay control, and firmware overhead, the Kill-A-Watt’s sole function is accurate measurement. Its display provides real-time readings of watts, volts, amps, hertz, volt-amperes, and cumulative kilowatt-hours. According to its established technical specifications documented on Wikipedia, the device is capable of reading loads from 0.01 to 1999.9 watts, making it suitable for nearly any residential appliance calibration scenario.
When positioned in series between the wall outlet and the smart plug under test, the Kill-A-Watt functions as an independent, ground-truth validator. Any divergence between its display and the smart plug’s reported value represents a quantifiable calibration error that must be corrected before the smart plug data can be trusted for automation or billing estimation purposes.
Selecting the Right Load for Calibration
Resistive loads — such as incandescent light bulbs or basic electric space heaters — provide a stable, non-fluctuating wattage draw that is ideal for smart plug calibration, eliminating the measurement noise introduced by inductive or capacitive loads.
Load selection is one of the most frequently overlooked variables in amateur calibration attempts. The physics are straightforward: resistive loads convert electrical energy directly into heat or light with a near-unity power factor (approaching 1.0), meaning the apparent power and real power are essentially identical. This produces a flat, stable wattage reading that both instruments can measure without ambiguity.
Contrast this with inductive loads — motors, compressors, HVAC blowers, or even some LED drivers — which introduce a lagging current phase angle, a non-unity power factor, and often significant instantaneous wattage variation. Attempting to calibrate a smart plug against a motor-driven appliance will yield inconsistent reference readings, making it impossible to calculate a reliable correction factor. For professional calibration, a 60W or 100W incandescent bulb (where still available), or a resistive space heater set to a fixed wattage output, is the optimal test load. The goal is a load that draws precisely and consistently what it is rated for, with no startup surges or cyclical variation.
The Professional Calibration Workflow: Step-by-Step
The calibration process involves daisy-chaining the Kill-A-Watt meter and smart plug in series under a stable resistive load, then computing a mathematical correction factor from the simultaneous readings of both devices.
Follow this structured workflow to execute a professional-grade calibration:
- Prepare the test environment. Select a stable resistive load with a known rated wattage. Ensure the circuit supplying the outlet is not shared with any other high-draw devices that could cause voltage fluctuation during the test.
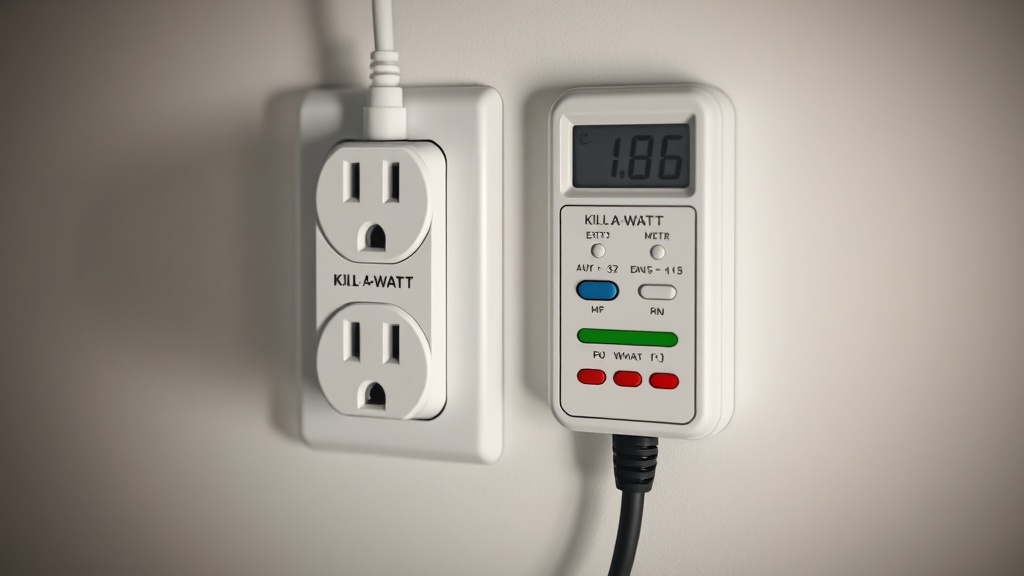
- Build the daisy-chain measurement stack. Plug the Kill-A-Watt meter directly into the wall outlet. Plug the smart plug to be calibrated into the Kill-A-Watt’s output socket. Plug the resistive test load into the smart plug.
- Allow thermal stabilization. Power on the load and allow the system to stabilize for a minimum of 3–5 minutes. Resistive elements can exhibit minor wattage drift during initial warm-up as their resistance changes with temperature.
- Record simultaneous readings. Note the stable wattage displayed on the Kill-A-Watt meter (this is your reference value, Wref). Simultaneously, record the wattage reported by the smart plug through its mobile app or hub interface (this is your reported value, Wrep).
- Calculate the correction factor. Divide the Kill-A-Watt reading by the smart plug reading: CF = Wref ÷ Wrep. A correction factor greater than 1.0 indicates the smart plug is under-reporting; less than 1.0 indicates over-reporting.
- Repeat for validation. Perform this comparison at least three times across a 15-minute window and average the correction factors to account for any momentary measurement noise.
Applying the Correction Factor in Software
Smart home platforms like Home Assistant enable users to create template sensors that apply a mathematical multiplier to raw device data, effectively correcting hardware inaccuracies at the software layer without any physical modification to the smart plug.
Once a reliable correction factor has been established, it must be systematically applied to all downstream data flows. This is where the choice of smart home platform becomes critical. Home Assistant, the open-source home automation platform, offers a powerful Template Sensor integration that allows users to define a new virtual sensor whose value is derived from a mathematical expression applied to any existing entity’s state. In practice, this means you can create a corrected wattage sensor using a formula such as: {{ states('sensor.smart_plug_power') | float * 1.087 }}, where 1.087 represents the calculated correction factor.
This software-layer correction propagates automatically to all dashboards, energy monitoring panels, historical logs, and automation conditions that reference the corrected sensor entity. The raw, uncorrected sensor can be retained for diagnostic purposes but excluded from all operational automations. This approach is elegant, non-destructive, and fully auditable — hallmarks of a CEDIA-certified integration methodology.
For proprietary ecosystems such as SmartThings or Amazon Alexa, software-level correction is more limited, typically requiring a third-party integration middleware or manual offset setting where supported by the manufacturer’s firmware. This limitation is one of the primary professional arguments in favor of open-platform architectures for any deployment where energy data accuracy is mission-critical.
Comparison of Smart Plug Tiers and Calibration Requirements
| Smart Plug Tier | Typical Accuracy | Factory Calibration | Calibration Required? | Correction Method |
|---|---|---|---|---|
| Budget / Mass-Market | ±8–15% | None / Minimal | Yes — Always | Template sensor multiplier |
| Mid-Range (e.g., Kasa EP25) | ±3–7% | Partial | Recommended | Offset or multiplier |
| Professional / CEDIA-Grade | ±1–2% | Full factory calibration | Verify on install | Verification only; rarely adjusted |
| Sub-metering Systems (e.g., Emporia Vue) | ±1–3% | Factory calibrated | Baseline verification | Platform-native offset tools |
Maintaining Calibration Integrity Over Time
Smart plug sensors can experience drift over time due to thermal cycling, firmware updates, and component aging — requiring periodic re-calibration at 6-to-12-month intervals to maintain data integrity in professional deployments.
Calibration is not a one-time event. A smart plug installed and calibrated in January may report measurably different values by the following winter due to sensor drift — the gradual change in a sensor’s output characteristics caused by component aging, repeated thermal expansion and contraction cycles, or changes introduced by firmware updates that alter measurement sampling rates or averaging algorithms. According to recognized best practices from the U.S. Department of Energy’s guidance on home energy audits, maintaining accurate baseline measurements is foundational to any meaningful energy reduction program.
A professional maintenance schedule should include a Kill-A-Watt verification check every six to twelve months for any smart plug whose data feeds into billing estimates, demand-response automations, or client-facing energy reports. Any correction factor shift of more than 2% should trigger a software update to the template sensor multiplier and a note in the system’s commissioning log. This level of rigor is what elevates a smart home integration from a consumer product installation to a professionally engineered system.
FAQ
Q: How do I know if my smart plug needs calibration?
The simplest diagnostic is to compare your smart plug’s reported wattage against a Kill-A-Watt meter using a resistive test load such as an incandescent bulb. If the two readings diverge by more than 3%, calibration is warranted. Budget smart plugs almost universally require this process, as their internal current sensors are not factory-calibrated to a professional standard and can exhibit drift of 8–15% from actual power draw.
Q: Can I calibrate a smart plug without Home Assistant?
Yes, though your options are more limited. Some smart plug manufacturers provide a calibration or offset setting within their native mobile apps. For closed ecosystems without this feature, you can manually factor the correction into any spreadsheet-based energy tracking you maintain. However, for fully automated and propagated correction across all automation rules and dashboards, an open platform like Home Assistant with its Template Sensor integration remains the most effective and scalable solution.
Q: Why must I use a resistive load instead of my actual appliances?
Inductive or capacitive loads — such as motors, refrigerators, or switching power supplies — introduce power factor variation and wattage fluctuation that make it impossible to establish a stable reference reading. A resistive load like an incandescent bulb draws a constant, predictable wattage with a near-unity power factor, providing a clean, unambiguous benchmark against which both the Kill-A-Watt meter and the smart plug can be compared simultaneously. Once the correction factor is established with a resistive load, it applies to all subsequent real-world load measurements.
References
- P3 International: Kill-A-Watt P4400 Official Product Specifications
- Home Assistant Documentation: Template Sensors for Data Correction
- CEDIA: Professional Standards for Home Technology Integration
- Wikipedia: Kill A Watt — Technical Overview and Specifications
- U.S. Department of Energy: Home Energy Audits and Measurement Best Practices