Everyone Says “Just Shade Your Sensors.” That’s Not Actually Solving the Problem.
The common advice about bypassing infrared safety sensor false trips from direct sunlight is almost always incomplete. You’ll find dozens of forums telling you to slap a sun visor on your garage door sensors or tilt them slightly — and sure, that helps sometimes. But it treats the symptom, not the failure mode. If you’ve been chasing phantom trips on your automated gate, garage door, or security system and sunlight seems to be the culprit, what you actually need is a systematic fix — not a piece of cardboard taped to a sensor.
I’ve designed and installed automation systems in 200+ homes. Sunlight interference is one of the most misdiagnosed problems I encounter. Homeowners assume it’s a hardware defect. Installers assume it’s a sensor alignment issue. The truth is usually more nuanced — and more fixable than either group realizes.
Why Infrared Sensors Trip Falsely in the First Place
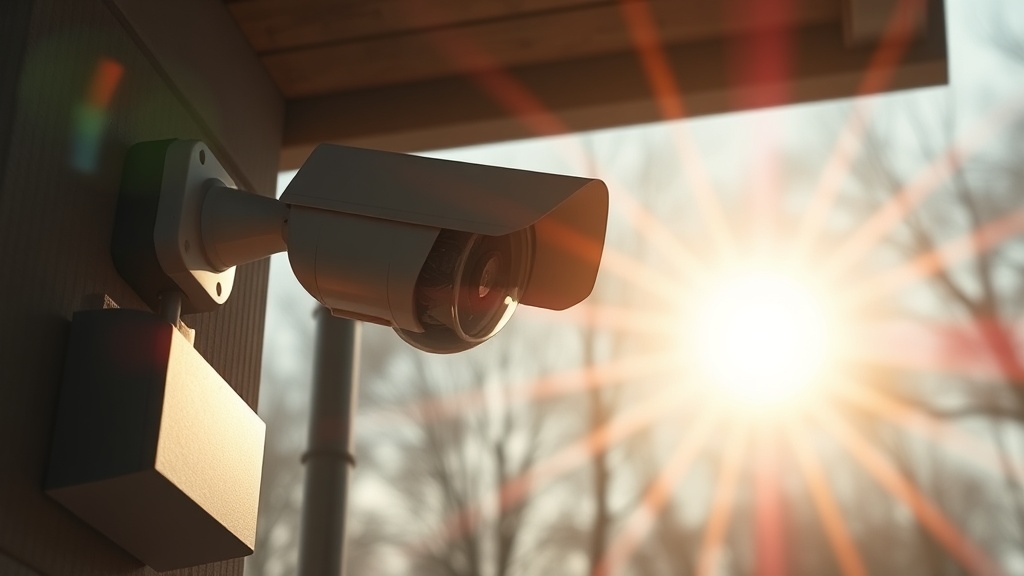
False trips happen when a receiver picks up infrared energy it wasn’t expecting — typically from a source other than its paired emitter. Direct sunlight is the most common culprit because it contains intense IR wavelengths that saturate the receiver’s photodetector.
Under the hood, most residential IR safety sensors work on a modulated frequency — typically 38kHz to 56kHz. The receiver is designed to detect only that specific pulsed signal from its emitter. The problem? Sunlight doesn’t care about modulation. When the sun hits a sensor receiver at a low angle (most often in early morning or late afternoon), it floods the photodetector with broadband IR energy, overwhelming the filter circuit entirely.
This is called optical saturation. The receiver can’t distinguish between the modulated signal and the flood of ambient IR. It interprets the disruption as a beam break — and triggers a safety stop.
The failure mode here is that most people never identify *when* the trips occur. If you log the timestamps, you’ll almost always see a pattern: trips cluster around the same time of day, seasonally getting worse as the sun’s angle changes. That’s your diagnostic fingerprint.
Bypassing Infrared Safety Sensor False Trips from Direct Sunlight — The Right Way
Solving sunlight-induced false trips isn’t about defeating the safety system — it’s about making the sensor reliable enough that it can actually do its job. There are hardware, optical, and logical approaches, and the best solution usually combines two or more of them.
Option 1: Optical Baffling (DIY-Friendly)
This is the upgraded version of “just add a visor.” A proper optical baffle — not cardboard — restricts the sensor’s field of view to a narrow cone aligned directly with the emitter. You can purchase aluminum sun shields designed for LiftMaster, Chamberlain, and Linear sensors for $8–$25 a pair. Proper installation means the baffle tube length should be roughly 3–4× the aperture diameter to achieve meaningful angular restriction.
This works well when the sun is hitting from a predictable angle. It’s the first thing I try, and it resolves about 60% of cases.
Option 2: Sensor Replacement with Higher-Rejection Models (DIY to Pro)
Not all IR sensors are created equal. Entry-level sensors bundled with residential garage door openers use basic photodetector circuits with minimal optical filtering. Professional-grade sensors — like those from LiftMaster’s commercial sensor line — use bandpass optical filters and higher-frequency modulation to dramatically improve ambient IR rejection.
Replacement cost runs $40–$120 per sensor pair. If you’re comfortable with basic wiring (two low-voltage wires per sensor), this is achievable as a DIY project on most standard garage systems. Gate automation sensor upgrades, on the other hand, often need a pro because of integration with the gate controller logic board.
Option 3: Dual-Frequency or Laser-Based Alternatives (Needs a Pro)
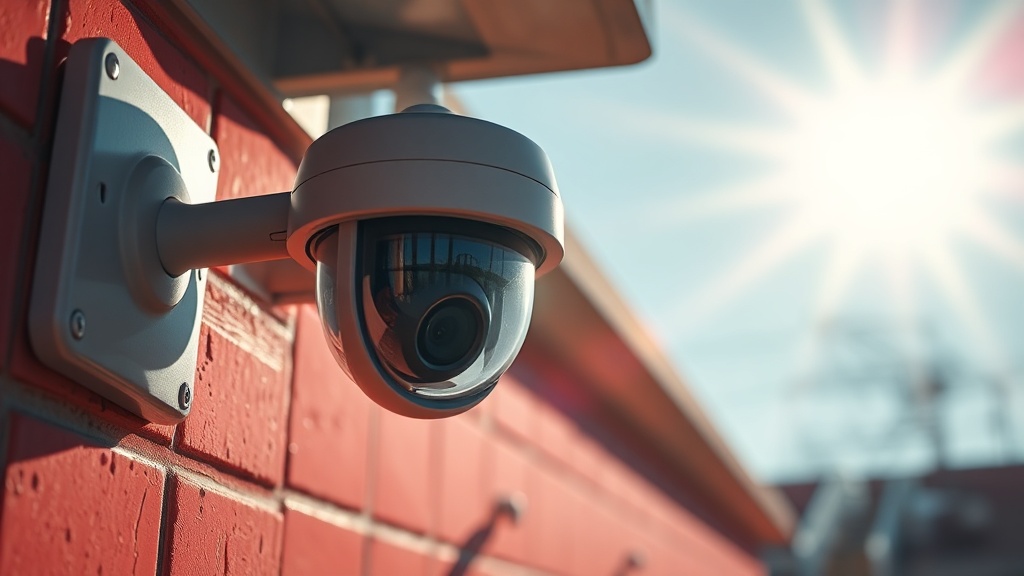
For high-sun environments — think south-facing garages in Arizona or Florida, or outdoor automated gates — the cleanest long-term fix is switching from standard IR to a laser-based or active-radar safety sensor. These systems operate outside the visible and near-IR spectrum where solar interference is most intense.
This is where the CEDIA-trained installer earns their fee. The integration work — rerouting signal logic, adjusting safety relay timing, and calibrating detection zones — isn’t something I’d recommend doing blind. Installed cost for a professional-grade laser safety edge system: $300–$900 depending on the gate or door system.
Option 4: Logic-Level Filtering Through Your Automation Controller (Pro Territory)
This one surprises people. If you’re running a proper home automation platform — Control4, Crestron, Savant, or even a well-configured Home Assistant setup — you can apply software-level debounce logic to the sensor input. Essentially, you program the system to ignore a sensor trip that lasts less than X milliseconds, or that occurs only once without a confirming second trigger.
The tradeoff is real: you’re introducing a small response delay into a safety circuit. I only recommend this approach as a secondary layer on top of hardware fixes — never as the sole solution. Safety circuits exist for a reason. From a systems perspective, software debounce is a supplement, not a substitute.
Most guides won’t tell you this, but: in some jurisdictions, intentionally delaying a UL-listed safety sensor response via software logic may void your liability coverage and violate local code. Always confirm with your AHJ (Authority Having Jurisdiction) before implementing controller-level filtering on door or gate safety systems.
Diagnosing the Problem Before You Touch Anything
A proper diagnosis takes 20 minutes and will save you hours of trial-and-error. Before buying any hardware, gather your baseline data.
Here’s my diagnostic checklist:
- Log the trip times — Note the exact time of every false trigger for 3–5 days. Sunlight-related trips almost always repeat within a 30-minute window daily.
- Check the LED indicators — Most sensors have indicator LEDs. A blinking or dimmed LED on the receiver side (not the emitter) confirms the receiver is being overwhelmed, not that the beam is physically broken.
- Test with physical shading — Temporarily block direct sunlight to the receiver with your hand or a piece of cardboard. If the false trips stop immediately, optical saturation is confirmed.
- Check alignment — A misaligned sensor is more vulnerable to sunlight because it’s already operating near the threshold of reliable detection. Realigning before shading can make a big difference.
- Inspect for reflective surfaces — A new car with a shiny hood, fresh concrete, or recently installed white trim can bounce sunlight into a sensor that was previously fine.
This matters because the fix for optical saturation is completely different from the fix for secondary reflections. Getting this wrong costs money and doesn’t solve anything.
The Cost Reality: What Should You Expect to Spend?
Most sunlight-interference fixes are genuinely affordable — the expensive part is usually discovering the problem took root in a poor original installation.
For a standard two-car garage: budget $20–$60 for sun shields plus sensor realignment. That’s a legitimate DIY fix for 60–70% of cases. If you’re in a high-sun region or have a south-facing door with afternoon sun exposure, step up to higher-rejection replacement sensors at $40–$120. You’ll likely spend 90 minutes on the job.
For automated gates or commercial-style installations, bring in a CEDIA-trained integrator. The CEDIA member directory is a reliable way to find a certified professional in your area. Labor for a gate sensor upgrade typically runs $150–$400 depending on system complexity. If you need a full laser-edge sensor system, budget $600–$1,200 all-in.
Unpopular opinion: the cheapest fix — the cardboard-and-zip-tie sun visor — actually works surprisingly well if it’s made from proper UV-stable material and sized correctly. The reason most installers dismiss it is aesthetics and liability, not performance. A precision-cut ABS plastic baffle with the right length-to-aperture ratio outperforms many “professional” solutions at a fraction of the cost.
When to Stop DIYing and Call a Professional
There’s a clear line between a sensor inconvenience and a genuine safety liability. Crossing that line without professional help is where people get into trouble.
Call a pro when: your gate is in a commercial or semi-public area, the door or gate is heavy enough to cause injury (most are), you’ve already tried two DIY fixes without success, or your automation controller is involved in the safety circuit logic. The future of smart home technology, as CEDIA has consistently emphasized, depends on the people designing and installing these systems — not just the technology itself. Safety sensors are exactly where that philosophy matters most.
If you’re running smart home strategy decisions across multiple systems in your home, it’s worth having a single integrator evaluate your entire sensor ecosystem at once rather than patching problems individually.
Summary Comparison: Sunlight False Trip Solutions
| Fix | DIY Friendly? | Cost Range | Best For | Effectiveness |
|---|---|---|---|---|
| Optical baffle/sun shield | Yes | $8–$25 | Standard garage doors | Moderate (60% cases) |
| Sensor realignment | Yes | Free | Misaligned installations | Moderate (improves other fixes) |
| High-rejection sensor replacement | Mostly | $40–$120 | High-sun regions | High (80–90% cases) |
| Laser/radar safety sensor | No | $300–$900 | Outdoor gates, extreme sun | Very High |
| Logic-level debounce | No (verify codes) | $0 + labor | Supplementary layer only | Low alone / High combined |
Frequently Asked Questions
Is it safe to temporarily bypass an infrared sensor to stop false trips?
Short answer: no, not on a live door or gate. Bypassing a safety sensor removes the primary obstacle-detection circuit. If you must test without the sensor active, do it with the door or gate fully locked out and no one in the travel path. Never leave a bypass in place as a “permanent” fix — this creates genuine injury liability.
My sensor was fine for years and suddenly started tripping in summer — why now?
Sun angle changes seasonally. A sensor that worked fine for three years may start getting hit by direct sunlight as the summer sun drops lower on the horizon in morning or late afternoon. A new reflective surface nearby — fresh driveway sealant, a new vehicle, painted trim — can also suddenly redirect sunlight into a previously unaffected sensor receiver.
Can I use any IR sensor as a replacement, or does it have to match my opener brand?
Electrically, most residential garage door sensors use a simple two-wire, low-voltage safety circuit that’s relatively universal. The connector and mounting bracket are often brand-specific, but the underlying circuit is frequently compatible across brands. That said, always verify your opener’s compatibility documentation before substituting sensors — mismatched logic levels can cause erratic behavior that’s harder to diagnose than the original sunlight problem.
References
- LiftMaster Safety Sensor Product Line
- CEDIA — Find a Certified Smart Home Professional
- CEDIA Workforce Development Resources — cedia.org/smart-home-professionals/advocacy/workforce-development
- UL 325 Standard for Door, Drapery, Gate, Louver, and Window Operators and Systems — Underwriters Laboratories
If hardening sensors against sunlight is this nuanced on a simple garage door, what does that say about the reliability of all the other automation systems in your home that nobody is actively monitoring?