Your Smart Doorbell Didn’t “Break” in the Heat — You Just Don’t Know How to Restart It
Everyone says the fix for a dead smart doorbell in summer is to “wait for it to cool down.” They’re missing the point entirely. Thermal shutdown recovery for smart doorbells in 100°F+ weather isn’t a passive process — it’s an active sequence that, if you get wrong, can permanently damage your device, corrupt its firmware, or lock it into a boot loop that no amount of cooling will resolve. I’ve seen this play out in dozens of installations across Arizona, Texas, and Southern California, and the homeowners who just “waited” often ended up buying a replacement they didn’t need.
Why Smart Doorbells Shut Down in Extreme Heat (And Why It’s Not a Design Flaw)
Thermal shutdown is a protective mechanism, not a malfunction — understanding this distinction changes everything about how you respond to it.
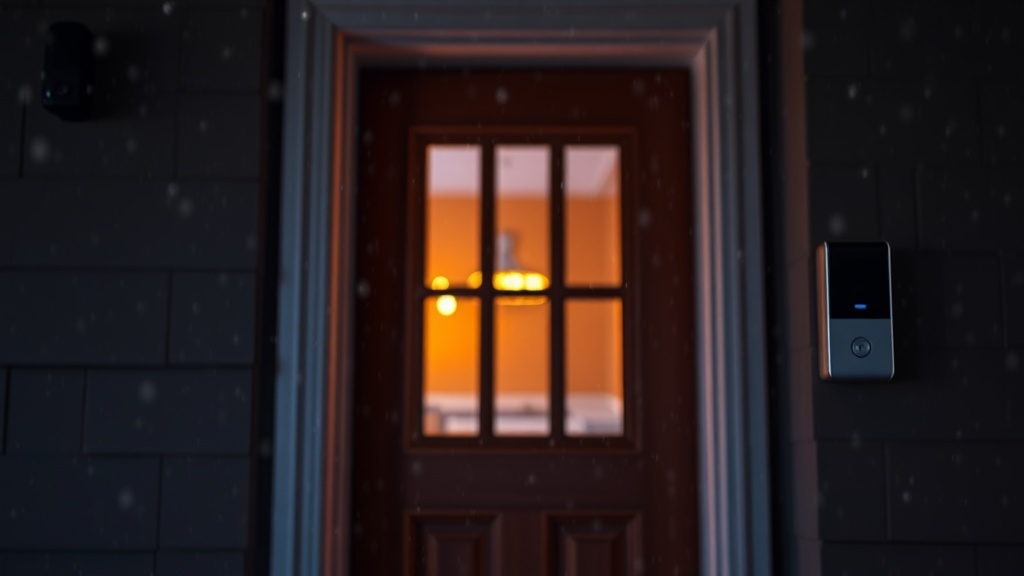
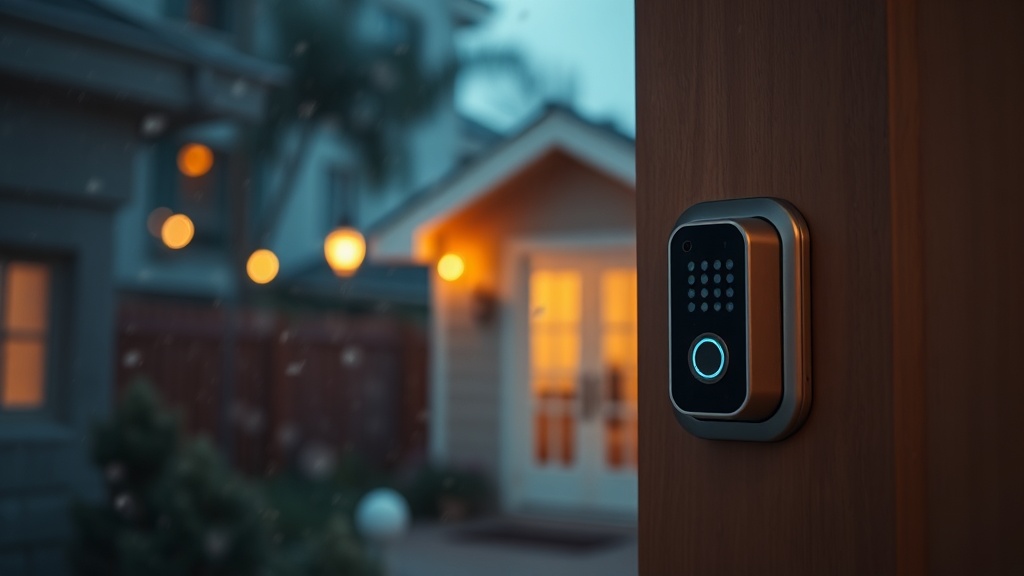
Smart doorbells like the Ring Video Doorbell Pro 2, Nest Doorbell, and Arlo Essential contain a combination of processors, image sensors, Wi-Fi radios, and lithium-polymer battery cells — all packed into a housing that sits in direct sun exposure, often on a south or west-facing wall. When ambient temperatures exceed 100°F and solar loading pushes the device’s internal temperature into the 115–130°F range, the onboard thermal protection circuit triggers a controlled shutdown. This isn’t arbitrary — it’s protecting the flash memory from corruption and the battery from thermal runaway, which is a genuine fire risk in lithium cells.
Here’s the thing: the shutdown itself is safe. The danger comes from how you bring the device back online.
Forcing a hard reset immediately after the temperature drops — while components are still thermally stressed — can corrupt the bootloader partition. That’s the kind of failure that requires a full firmware reflash, and in some cases, the device is simply bricked.
The internal temperature and the external temperature are not the same thing. A device housing that reads 95°F to the touch may still have a processor core sitting at 108°F. Give it time you can actually measure, not time you assume.
Your doorbell’s thermal shutdown is doing its job — your recovery process is where things go right or wrong.
The Correct Thermal Shutdown Recovery Sequence for Smart Doorbells
Thermal shutdown recovery for smart doorbells in 100°F+ weather follows a specific order of operations that most manufacturer troubleshooting pages gloss over entirely.
When your smart doorbell goes offline during a heat event, resist the urge to immediately press the reset button or pull power. The first step is passive: allow the device to sit without power for a minimum of 20–30 minutes after the ambient temperature drops below 90°F — not 100°F, not 95°F. This matters because the internal components have a higher thermal mass and take longer to equilibrate than the air around them. While you wait, check your app — many devices will show a “device offline due to temperature” notification that confirms thermal shutdown versus a Wi-Fi drop or power interruption.
Once the waiting period is complete, restore power gradually if you’re using a wired installation. For battery-powered models, reinsert the battery only after checking the battery terminal contacts for any condensation that may have formed during rapid cooling.
After power is restored, wait for the device to complete its full boot cycle — this typically takes 60–90 seconds — before attempting any button presses or app interactions. Interrupting the boot sequence is one of the most common causes of firmware corruption I see in field service calls.
Key Insight: “The recovery sequence matters more than the shutdown itself. A device that shuts down cleanly can be recovered in under an hour. A device that gets force-reset during thermal stress can require professional reflashing — or replacement. The 30-minute wait isn’t a suggestion; it’s firmware protection.”
In practice, a successful recovery looks like: device back online, live view functioning, motion detection active, and event history intact. If you’re missing any of those, you may have a partial firmware state that needs a soft reset (hold the setup button 10–15 seconds) rather than a factory reset — preserve your settings wherever possible.
A clean recovery is quiet. If your doorbell is clicking, cycling its LED repeatedly, or showing partial connectivity, stop and assess before going further.
DIY vs. Professional Intervention: Where the Line Actually Is
Most thermal shutdown recoveries are genuinely DIY-friendly — but a specific subset of failure states require professional tools and access that homeowners simply don’t have.
The vast majority of heat-related doorbell outages — I’d estimate 80% from field experience — resolve with the passive cooling and controlled restart sequence described above. These are DIY-appropriate and should cost you nothing beyond your time. The remaining 20% fall into categories that escalate quickly: boot loops that persist after two full cooling cycles ($0 DIY attempt, then $75–$150 for a pro service call), firmware corruption requiring serial port reflashing ($150–$300 depending on device), or physical damage to the ribbon cable connecting the camera module due to repeated thermal expansion and contraction (device replacement, $100–$350 depending on model).
Worth noting: if your doorbell has experienced multiple thermal shutdowns in a single summer season, that’s a sign your installation location is unsustainable — not a sign the device is defective.
A CEDIA-certified integrator can assess your specific installation geometry, measure solar loading with a thermal camera, and recommend a mounting solution or shade structure that keeps operating temperatures within spec. This is a one-time investment that prevents recurring failures.
Practically speaking, if you’ve done two full recovery cycles and the device still won’t complete a boot — call a pro. You’ve crossed the DIY line.
Prevention: The Installation Fixes That Actually Work in 100°F+ Climates
Preventing thermal shutdown starts at installation, and most of the effective solutions cost under $50 in materials — making this one of the highest-ROI improvements you can make to any smart doorbell setup in a hot climate.
The single most effective intervention is a doorbell shade mount — an angled bracket or small roof overhang that blocks direct solar radiation from hitting the device face during peak sun hours (typically 11am–4pm). These run $15–$40 and can reduce device surface temperature by 20–30°F in direct measurement. Second is mounting orientation: north or east-facing walls receive dramatically less solar loading than south or west-facing installations. If you can relocate the device, even a partial east-facing angle makes a measurable difference.
For wired installations, ensure your transformer is rated at 16–24V AC at 30VA or higher — an underpowered transformer causes the device to run hotter as it struggles to maintain connectivity. This is a surprisingly common contributing factor that most homeowners never check.
Real talk: if you’re in Phoenix, Las Vegas, or any climate that regularly exceeds 110°F, some consumer-grade smart doorbells simply aren’t rated for your environment. Check the manufacturer’s operating temperature spec — most cap at 120°F internal, which a west-facing installation will exceed regularly. You may need to look at commercial-grade video doorbell stations with higher thermal tolerances, which start around $250 and go up from there.
The best thermal shutdown recovery is the one you never have to perform.
An Unpopular Opinion Worth Considering
Most guides won’t tell you this, but: lithium battery-powered smart doorbells have no business being installed on sun-exposed walls in climates above 105°F ambient. Manufacturers publish those operating ranges, and the lithium-polymer cells in most battery doorbells are rated for a maximum of 113°F (45°C). Every time the battery exceeds that threshold, you’re losing measurable cycle capacity. After two or three summers of regular thermal events, that battery won’t hold a charge for more than a few weeks — and you’ll spend money on a replacement battery thinking it’s a defect, when it’s actually a foreseeable consequence of the installation environment. Wired installations in hot climates aren’t optional; they’re the responsible choice.
You can read more about long-term smart home strategy planning to think through these decisions before you buy — not after you’ve already mounted something in the wrong spot.
For broader smart home design best practices, the CEDIA full smart home integration guide is worth bookmarking — it covers environmental design considerations that most consumer-facing guides skip entirely.
Frequently Asked Questions
How long should I wait before restarting my smart doorbell after thermal shutdown?
Wait a minimum of 20–30 minutes after the ambient temperature has dropped below 90°F. Don’t go by how the housing feels to the touch — internal component temperatures lag significantly behind external readings. Rushing this step is the most common cause of post-recovery boot loops and firmware issues.
Will thermal shutdown permanently damage my smart doorbell?
A single thermal shutdown event rarely causes permanent damage — the protection circuit exists precisely to prevent that. Repeated thermal events over a season, however, do degrade lithium battery capacity measurably and can cause cumulative stress on solder joints and ribbon cables. If your device is shutting down regularly, the installation location needs to change.
My doorbell won’t reconnect to Wi-Fi after coming back online in the heat — what do I do?
This is often a partial boot state, not a Wi-Fi problem. Try a soft reset first: hold the setup button for 10–15 seconds until the LED changes pattern, then allow a full 90-second boot cycle. If the device still won’t connect, check that your router hasn’t reassigned IP addresses in a way that conflicts with the device’s cached network settings. A router restart alongside the doorbell restart often resolves this quickly.
References
- CEDIA — Guide to Full Smart Home Integration Solutions
- CEDIA — Find a Smart Home Professional / Certified Integrator Directory
- CEDIA — The Value of Becoming CEDIA Certified
And the question worth sitting with: if the devices we’re mounting outdoors aren’t actually engineered for outdoor climate extremes — what does that say about how we’ve been choosing smart home hardware all along?